Part 3: Booting from the USB

Now that your USB installer is ready, it’s time to boot your computer from it. This part does NOT install Bazzite yet: this is only about getting into the USB environment. Installing the OS happens in Part 4.
Step 1: Plug in the USB & Restart
Make sure your flash drive is plugged into the computer. Then perform a full restart. Not sleep. Not log out. A real, full reboot. As it reboots, you’ll see something like this for a moment:
Step 2: Open the Boot Menu
Every computer uses different keys for the boot menu. Here are the most common:
- F12: Most common (Dell, Lenovo, many desktops)
- Esc: HP, some laptops
- F10: HP boot menu
- Del: Many custom PCs
- F2: Usually BIOS, NOT what you want (unless dual-booting in Part 4B)
You want the Boot Options screen, not BIOS.
If you miss the moment and it boots back into Windows? No problem. Restart again and try pressing the key sooner.
Step 3: Pick Your USB
Inside the boot menu, you’ll see a list of devices. Look for something like:
- USB HDD:
- USB Storage Device
- SanDisk / Kingston / Samsung (your USB brand)
Select it and press Enter.
Step 4:The Bazzite Boot Screen
If everything worked, you’ll see something like this:
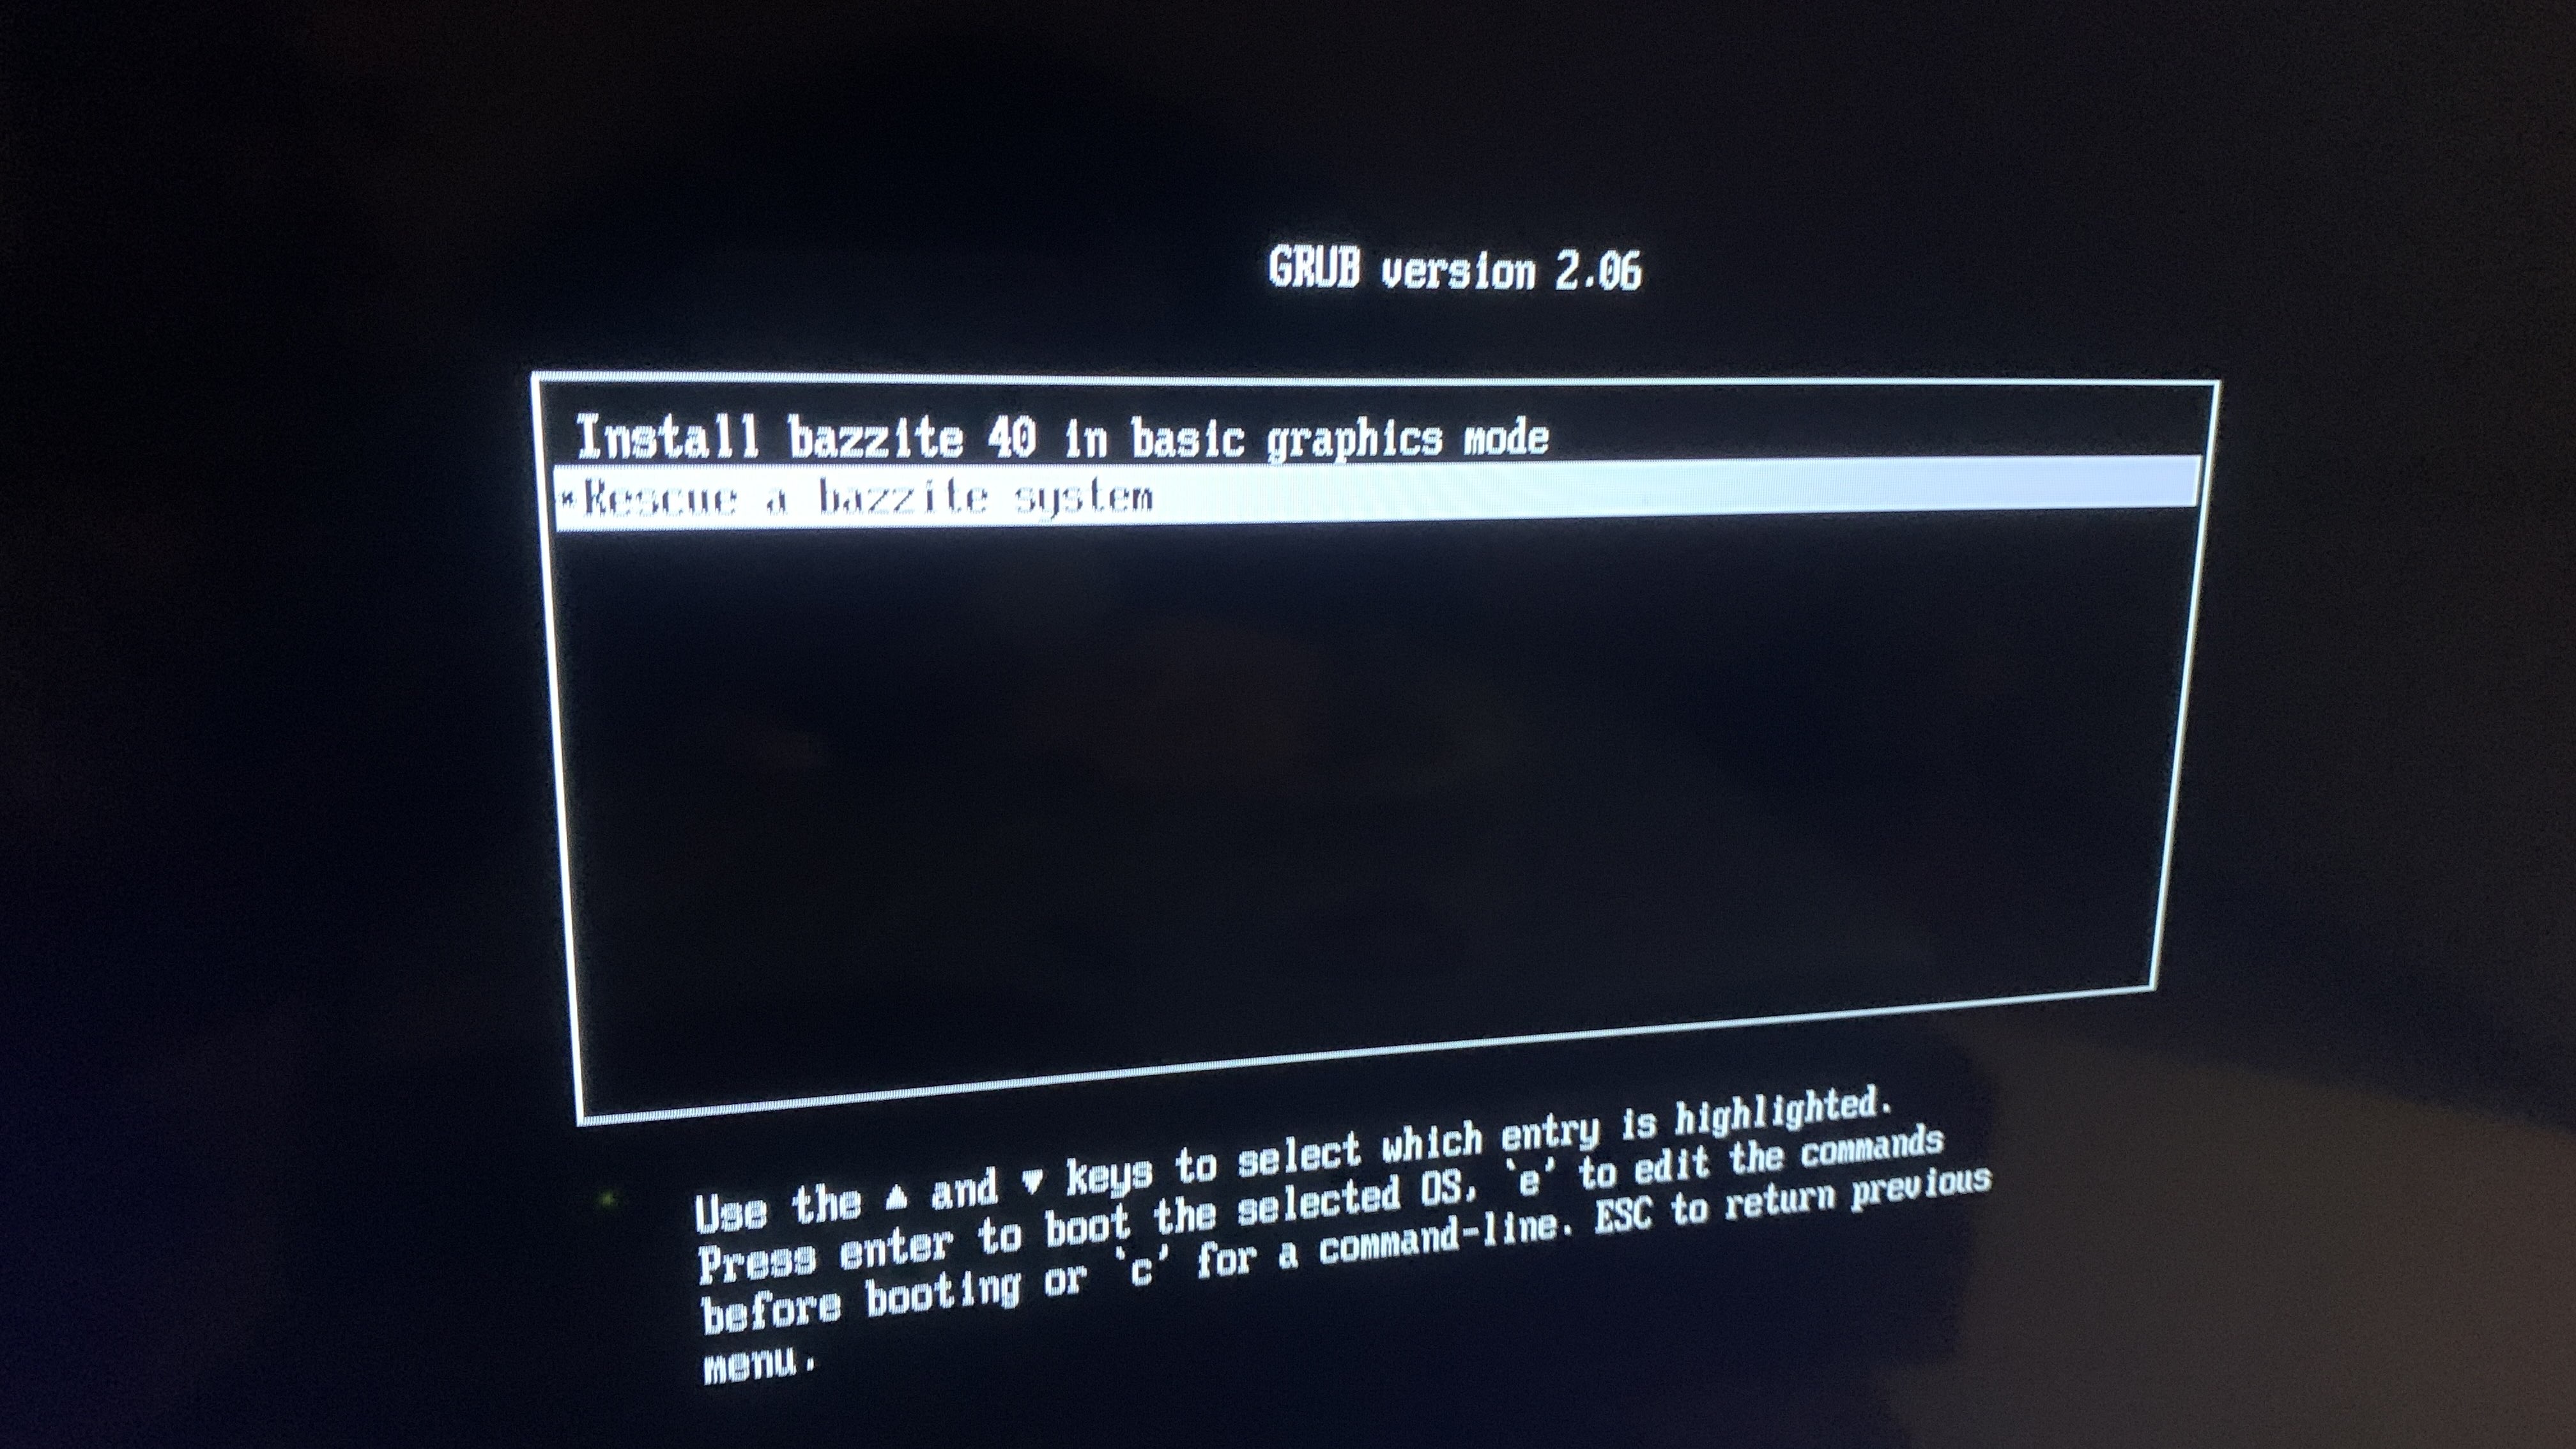
This means you successfully booted from the USB. You are now inside the Bazzite live environment.
Important: You have not installed anything yet. Nothing has been changed on your computer.
Common Problems (During Boot Only)
• “My PC keeps booting Windows”
Cause: You didn’t get into the boot menu in time.
Fix: Restart and spam the proper key repeatedly.
• “The USB doesn’t appear in the boot list”
- Try a different USB port (avoid front-panel ports)
- Make sure you created the installer correctly
- Windows Fast Boot might be blocking it (Part 5:Step 1)
• “The Bazzite boot screen freezes”
Cause: Occasional USB flash issue.
Fix: Reflash the USB using Etcher or Rufus.
• “Screen goes black on NVIDIA”
Cause: NVIDIA drivers being dramatic.
Fix: Make sure you downloaded the NVIDIA ISO.

